
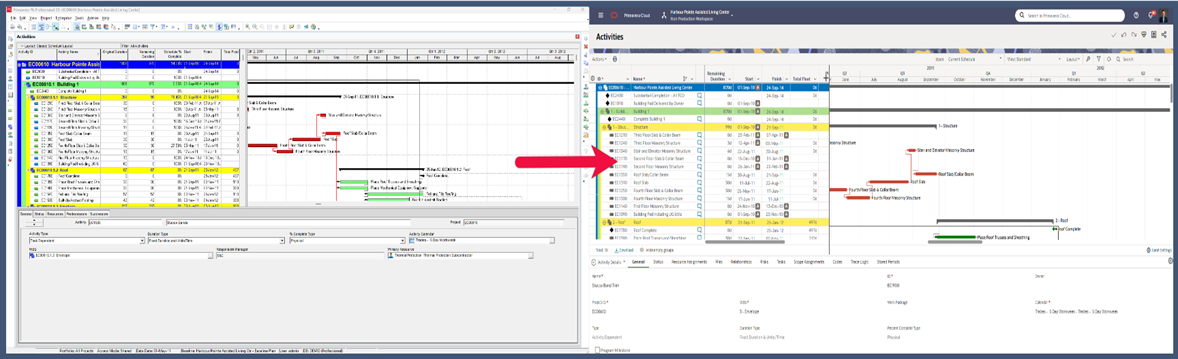
 Making your Activities Grid in Oracle Primavera Cloud Look Similar to P6
DOWNLOAD THE PDF HERE
Step 1: Go to the Activities Page
- Log in to Oracle Primavera Cloud.
- From the Main Menu, select the Schedule app.
- Click Activities to open the Activities page, where the grid is displayed.
Step 2: Access View Settings
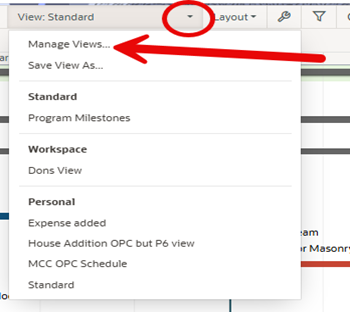
- On the Activities page, find the View dropdown menu (typically in the toolbar or top-right corner).
- Select Manage Views or Create New View to customize the grid.
- Name the view (e.g., “P6-Classic Grid”) and set its scope (User or Project).
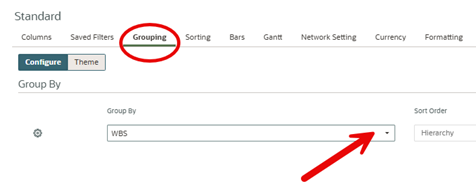
Step 3: Configure Grouping and Theme
- In the View settings, navigate to the Grouping tab.
- Set up P6-like grouping:
- Select WBS as the primary grouping to organize activities hierarchically, mimicking P6’s default.
3. Toggle the Theme
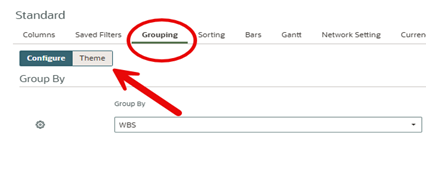
-
- Change Style to Classic to align with P6’s traditional look.
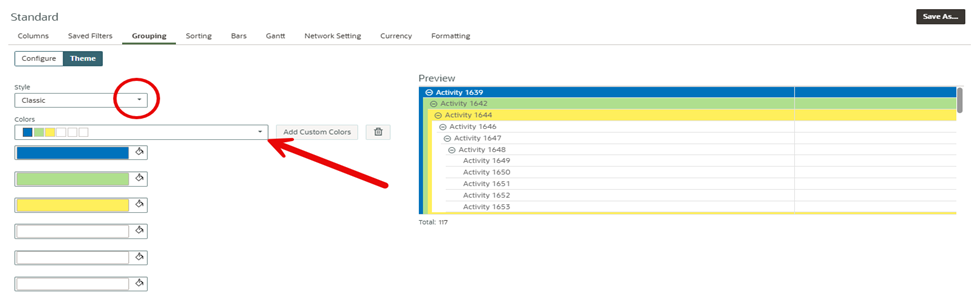
4. Pick P6-like colors:
Step 4: Save and Test
- Click Save in the View settings to apply the changes.
- Refresh the Activities page (e.g., click Refresh or press F5).
- Verify the grid’s appearance:
- Check WBS grouping with collapsible bands.
- Confirm classic theme with chosen colors
- Ensure text is legible in Arial with black font.
- Adjust colors or grouping in the Grouping tab if needed.