
ORACLE PRIMAVERA UNIFIER
There can be a requirement where the number of line items in a tab must not exceed a certain number. A simple example is a report which includes a fixed height text area where there is a maximum number of lines.
This Tech Tip outlines how to provide this functionality.
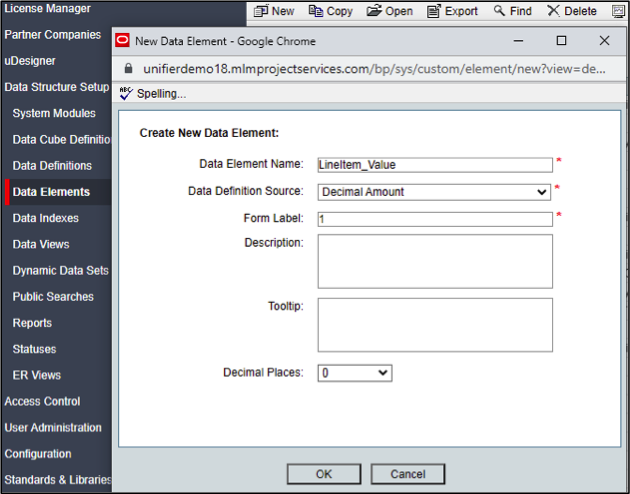
Two Data Elements are required. One for the line items counter, and one for the value set on each line item creation. Both Data Elements are created using the Decimal Amount Data Definition with 0 decimal places.
Go to Data Structure Setup > Data Elements from the Navigation Pane and click New. Enter the Name, Data Definition Source, Form Label, and Decimal Places selection. This is the Data Element for the line item value (LineItem_Value).
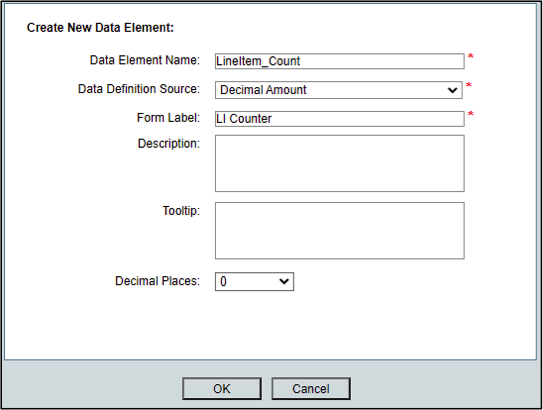
Create another Data Element which will be the Data Element for counting the line items (LineItem_Count).
These Data Elements LineItem_Value and LineItem_Count will be added to a BP’s Upper and Detail forms respectively. The Risks and Issues BP is used in this Tech Tip.
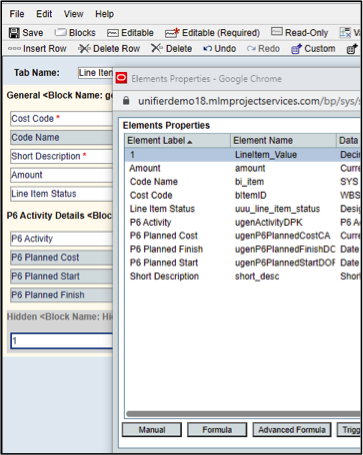
Go to uDesigner > BP > Detail Form from the Navigation Pane and open the Standard Detail Form.
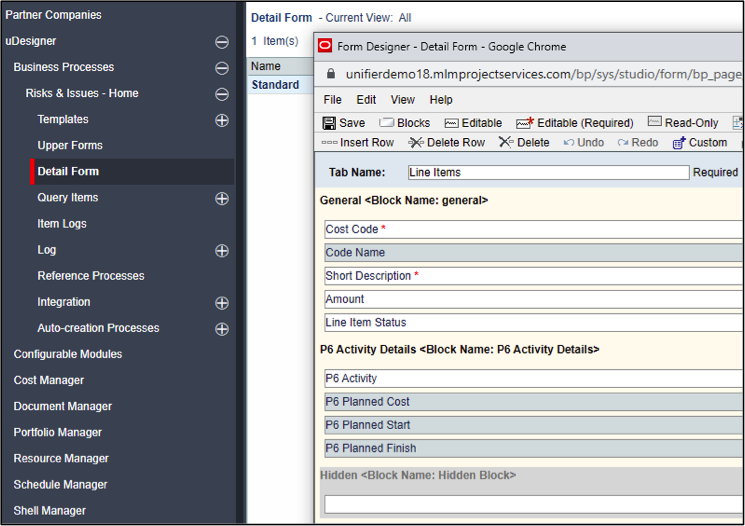
Select a row in the Hidden block and click Custom. The Data Element is placed in the Hidden block as the user does not need to see this.
Each added line item will have a value of 1 using this Data Element. This acts as the count. Click Properties to open the Element Properties window. Select the Data Element and click Formula at the bottom of the window.
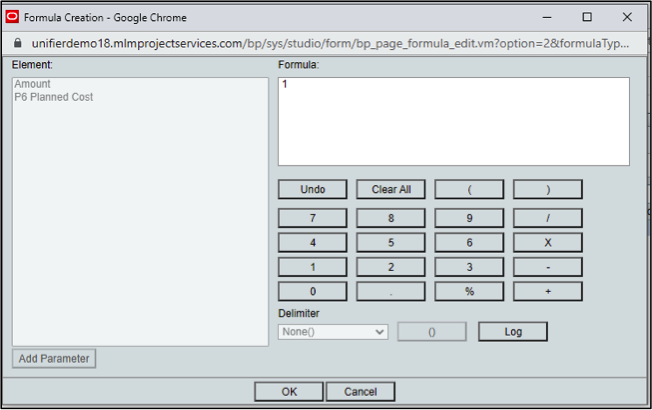
The Formula Creation is opened.
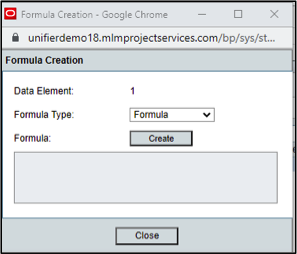
Click the 1 button to assign this value to the Data Element and click OK. Close the Formula Creation and Element Properties window.
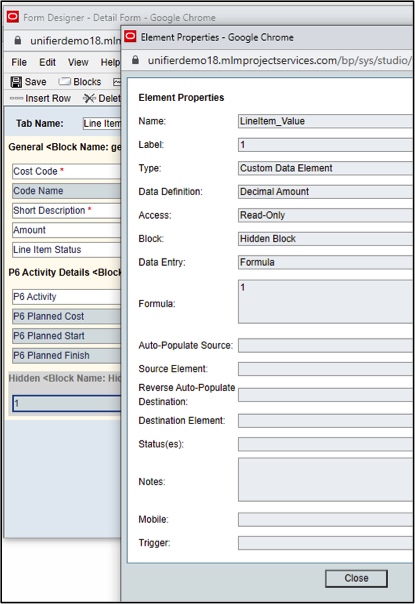
The Data Element is now included in the row and its properties can be checked by double-clicking the Data Element. Click Save and close the form window.
The Upper Form is where the line item counter will be included as well as the line item count validation is set.
Go to uDesigner > BP > Upper Forms from the Navigation Pane and open the Upper Form.
As before, the Data Element will be included in the Hidden block.
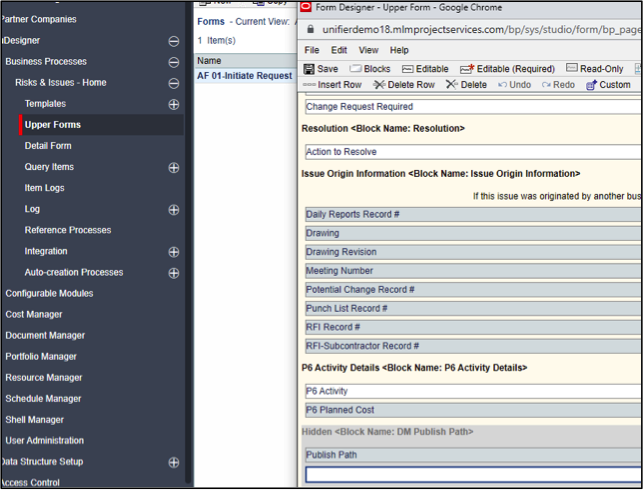
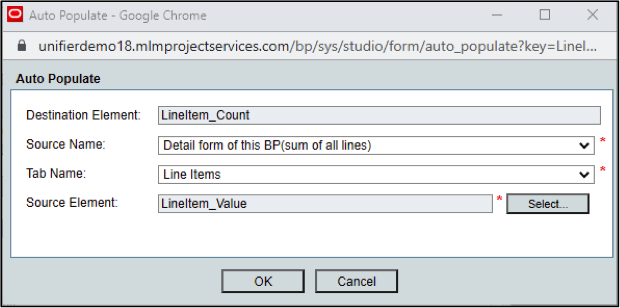
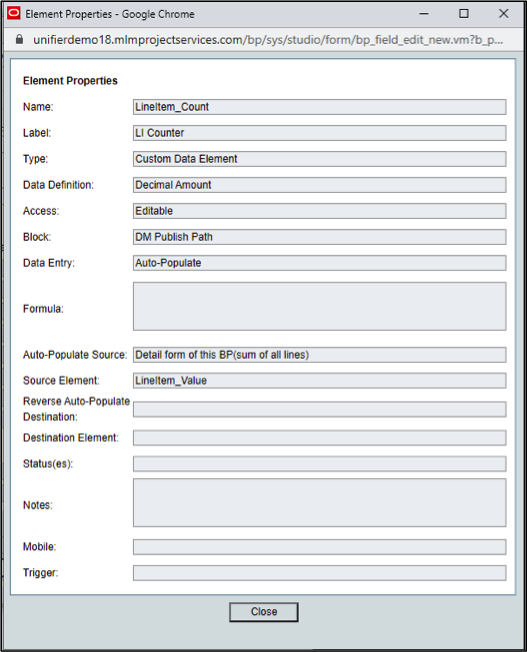
Add the Data Element to the Hidden block but this time click Auto-Populate to open the Auto-populate window. Choose ‘Detail form for this BP (sum of all lines)’ as the Source Name and the correct tab.
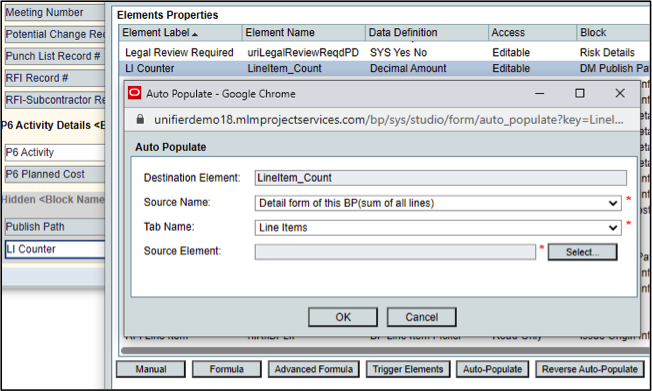
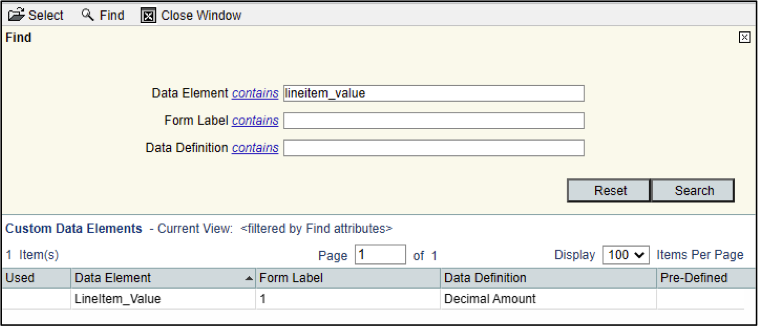
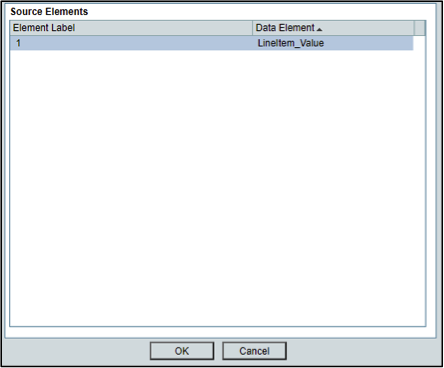
Click Select and highlight LineItem_Value Data Element as the Source Element. Click Ok to close the window. Also, close the Properties window.
This Upper Form Data Element automatically sums the LineItem_Value values for each Line Item.
As before by double-clicking the Data Element opens its properties.
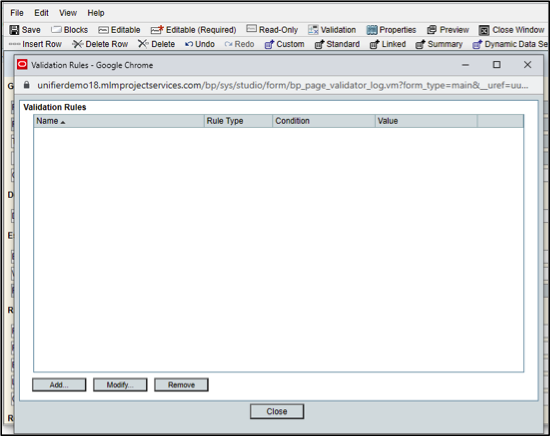
The next step is to add the validation. Click the Validation menu item in the Form window to open the Validation Rules. Click the Add button to create the validation rule.
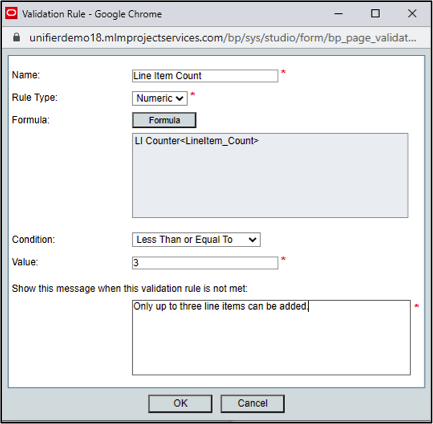
Add a Name and set the Rule Type to Numeric.
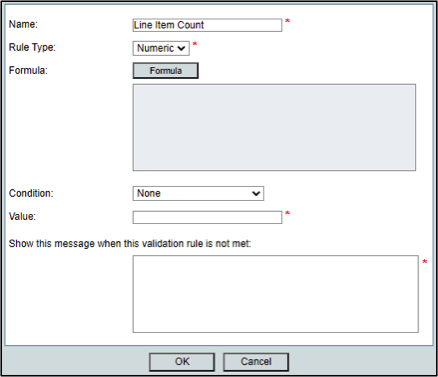
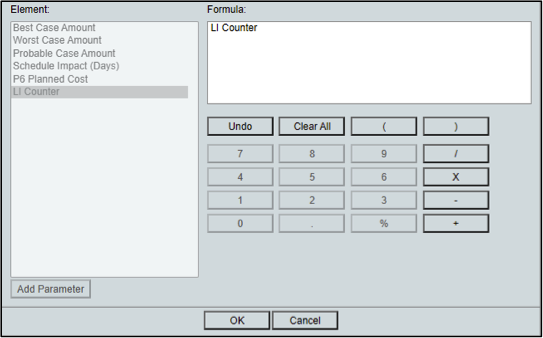
Click the Formula button to open the Formula window. Select the Data Element counter and click the Add Parameter button. The Data Element name will display in the Formula text area. Close OK to close this window.
Select the ‘Less than or Equal to’ condition. Enter a max number of line items for the tab. Add a message for the user if the validation is triggered. Click OK to close this window.
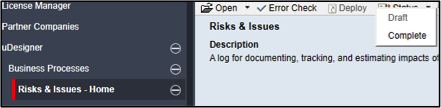
Close the Properties window, and Save and close the Form window. The BP Status can be set to Complete.
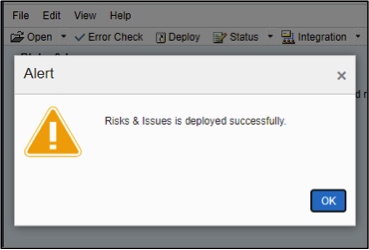
The BP is then deployed.
Locate the Risk and Issues BP in a shell.
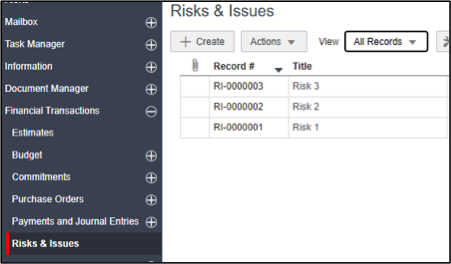
A record has already been created but more line items to the tab. In this case four in total.

If the Submit button is clicked, the ‘less than or equal to’ validation rule is triggered with a warning message to the user the maximum number of line items cannot be more than three.
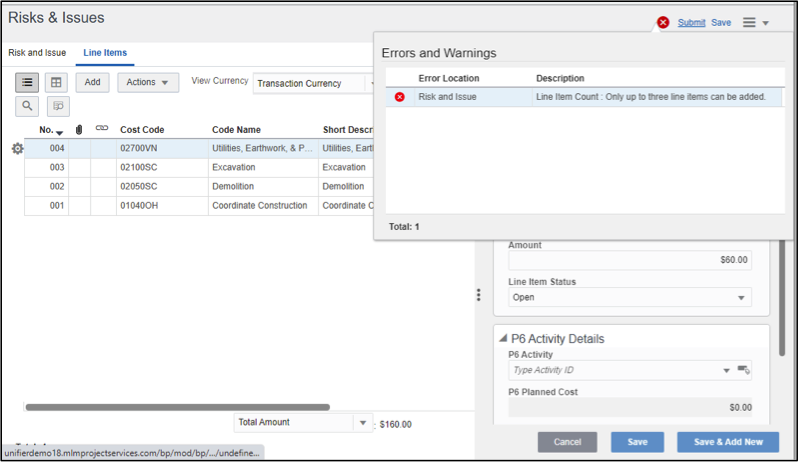
In summary, this tech tip outlined using the Validation functionality with a simple example to limit line items in a tab.