CREATING AND ACCESSING A PROGRAM
ORACLE PRIMAVERA UNIFIER
DOWNLOAD THE PDF HERE
A program in Unifier allows multiple projects (WBS-shells) to be monitored, compared and reviewed. Examples of this could be a portfolio of projects overseen by a project manager or it could be a specific set of construction projects that make up a specific construction program. Whenever there is the need to monitor a number of projects together in Unifier a program can be used.
Benefits of the Unifier Program include:
- An overall snapshot view of progress on the projects through the Program Summary. Besides the standard view there is the ability to customize this summary page with more pertinent snapshot data.
- Roll up financial cost data from the projects into one program cost sheet to monitor program cost health. Additionally create budget, commits, spends and forecasting cash flow curves from this consolidated cost data.
- Tracking progress of the overall program looking at the schedule data from each of the projects.
- Create program-level reporting using User-Defined Reports (UDR).
For enterprise wide flexibility, projects (WBS-shells) can be selected from different shell hierarchies. Those not familiar with a shell hierarchy in Unifier, it is a representation of projects within a real-world physical or organizational structure. This hierarchy can have multiple levels with a top level shell and different sub-shells making up the levels below.
A simple shell hierarchy example could be:
Region (top shell)
– Sub-Regions (sub-shell)
– Cities (sub-shell)
– Assets (sub-shell)
– Rental Buildings (sub-shell)
– New Construction Projects (sub-shell)
– Retail Buildings (sub-shell)
– New Construction Projects (sub-shell)
Taking our example, there could be two shell hierarchies. One for Region Asia and the other for Region North America. There could be a management requirement to keep track of new rental building project in specific sub-regions and cities in Asia and also in North America. This can be achieved using a program.
This tech tip will look at how to create a program and make it available for user mode access.
1. CREATE THE PROGRAM
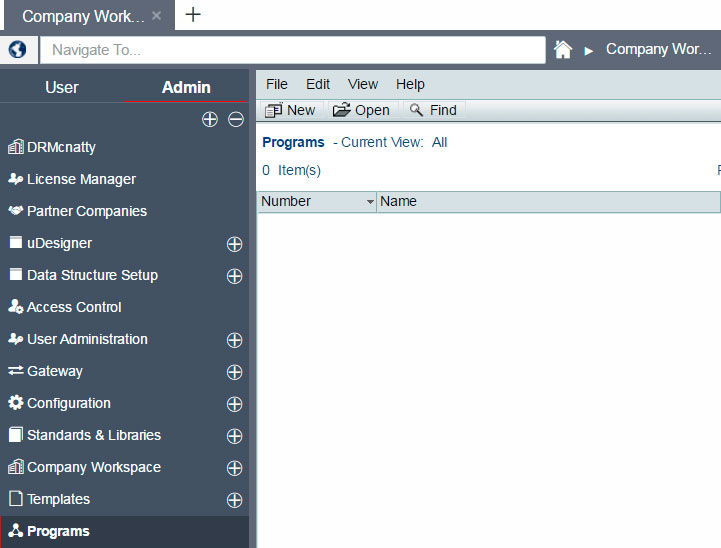
Go to the Company Workspace > Admin Mode > Programs node. Click ‘New’.
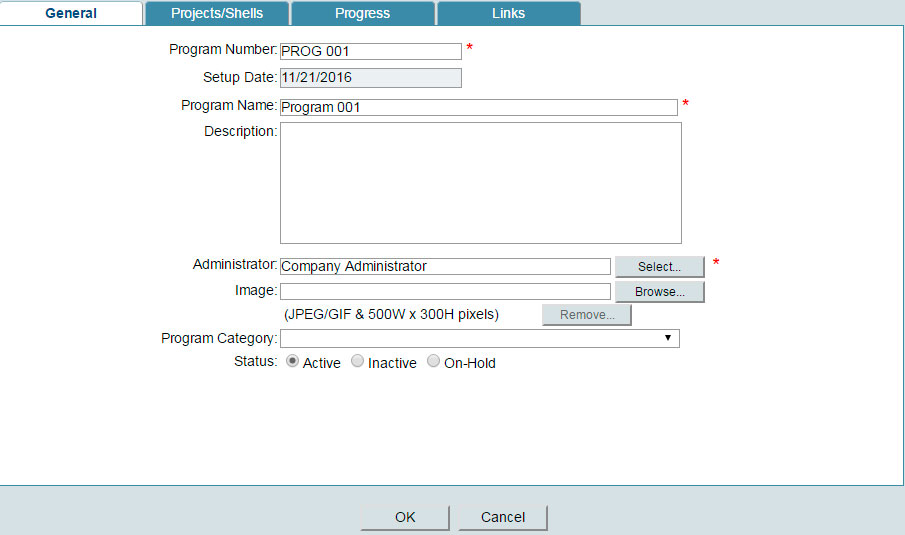
From the General tab, enter the appropriate Program Number, Program Name and Administrator (the mandatory fields). Ensure the Status is selected to Active.
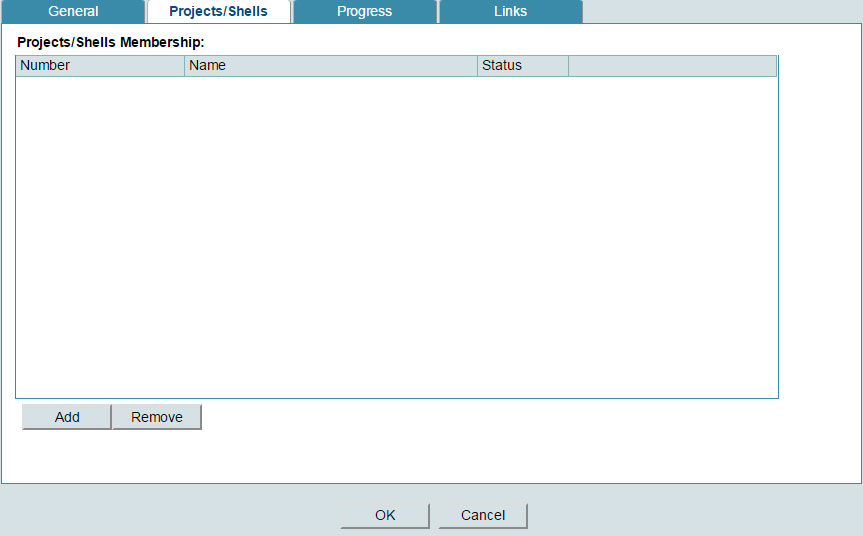
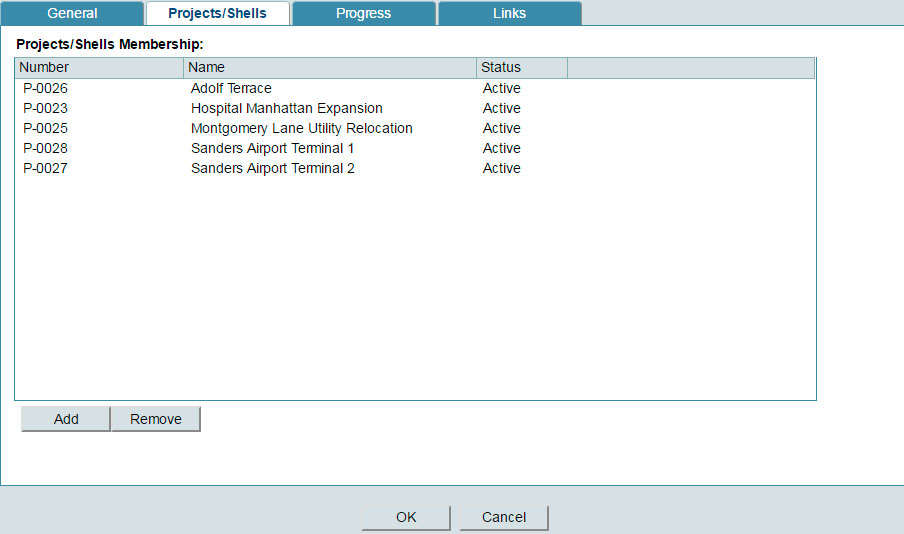
The Projects/Shells tab is where we will select the projects required for this program. Click ‘Add’.
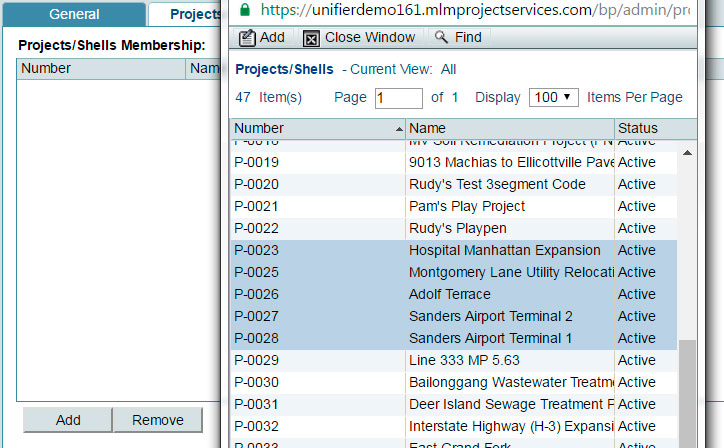
From the pop-up Projects/Shells window select the projects. Use the <Shift> key to select multiple projects at once. Click ‘Add’ to return to the previous window.
The selected projects are now listed in the tab. Click ‘OK’ to complete the creation of the program.
2. Adding Users and Group to a Program
The program is created but now the access rights must be set. It is important to remember a user that is a member of a selected shell (that is part of a program) still requires access rights to view the program.
Click ‘Open’ to access the Program’s administrative nodes.
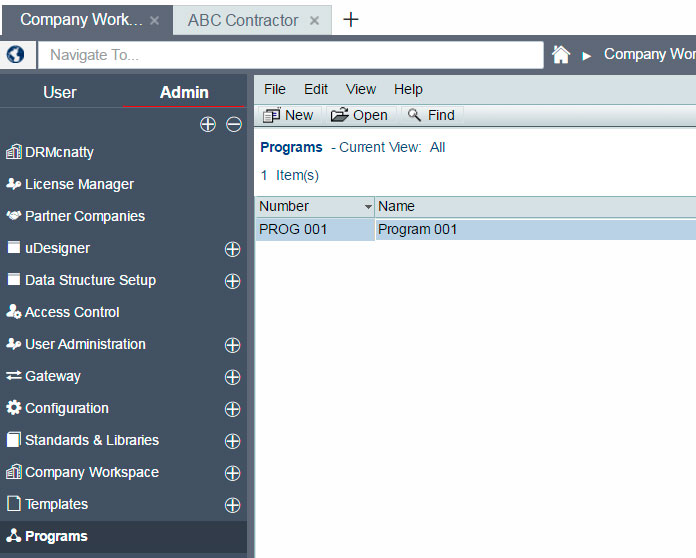
By default, the user account that is assigned the Administrator will have been added as a user. If the Administrator changes during the lifetime of the Program, then that new Administrative user acct will be automatically added to the program’s users if it does not already exist.
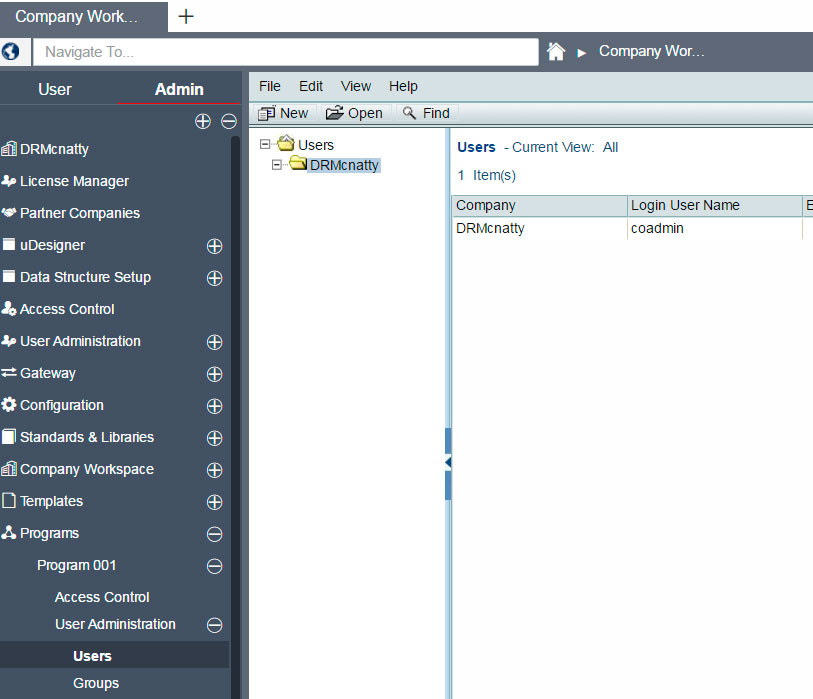
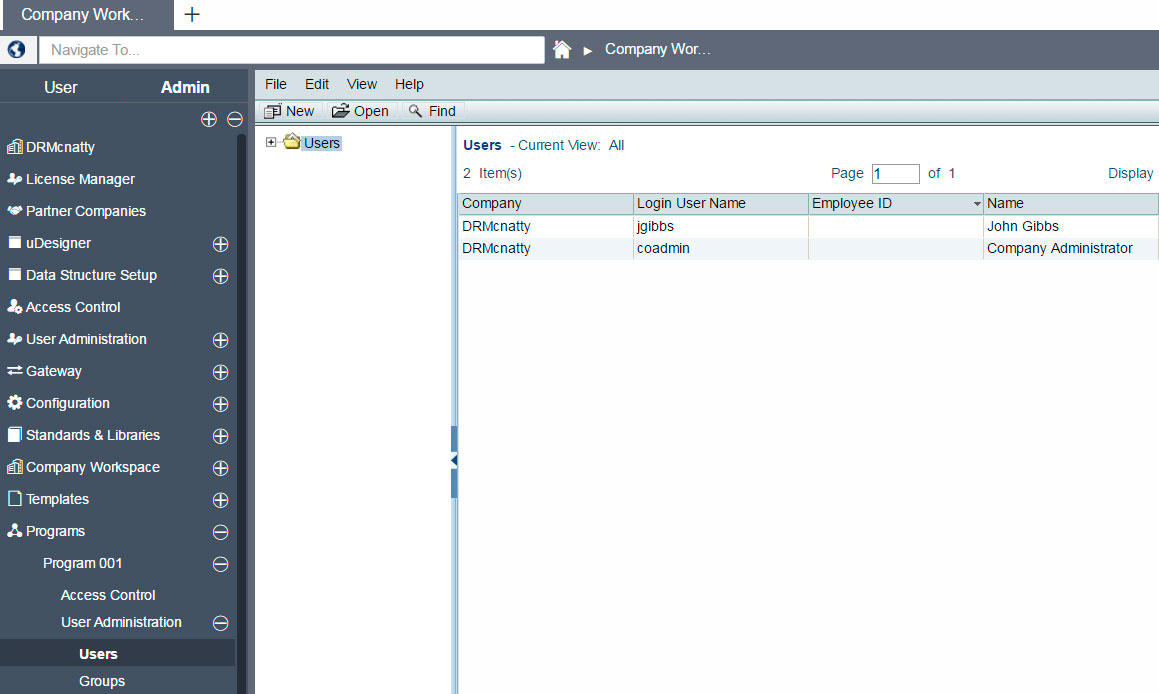
From Programs > User Administration > Users. Click ‘New’ to add users to this program.
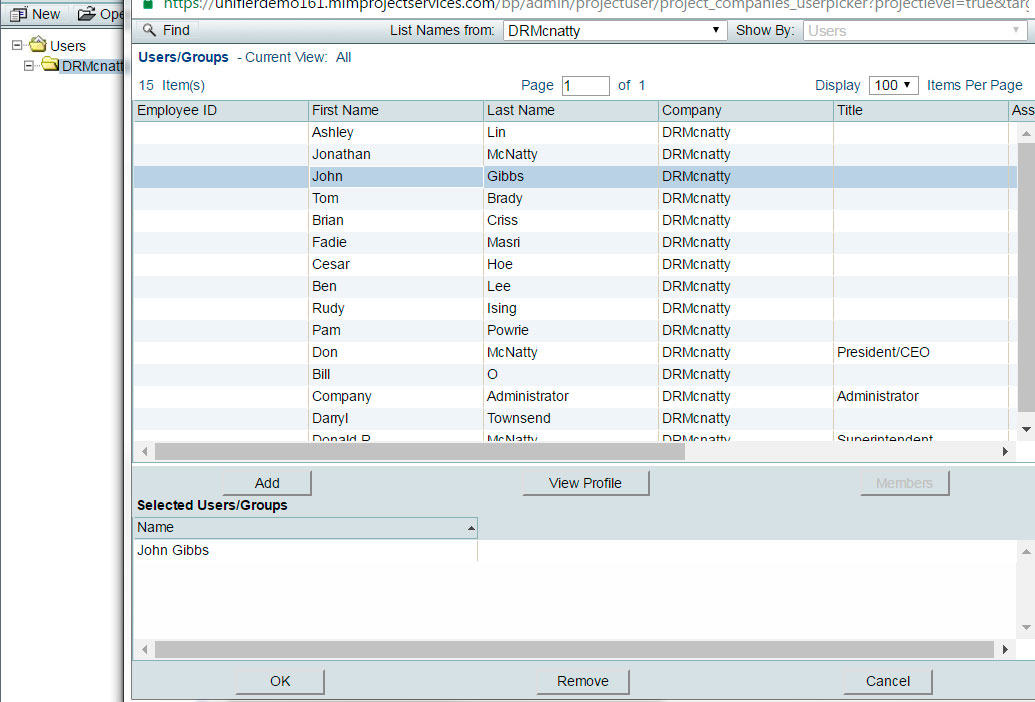
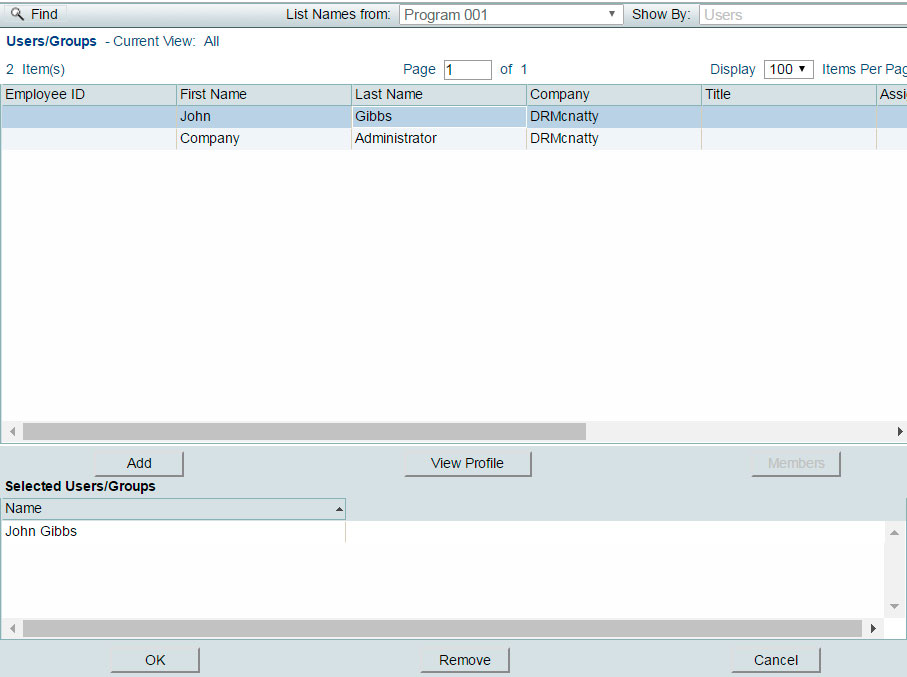
From the User/Groups pop-up window select the users you wish to add. Click ‘Add’ to display selected users in the bottom pane.
Click ‘OK’ to return to the previous screen.
In our example we added user John Gibbs which can now be seen in the Users log.
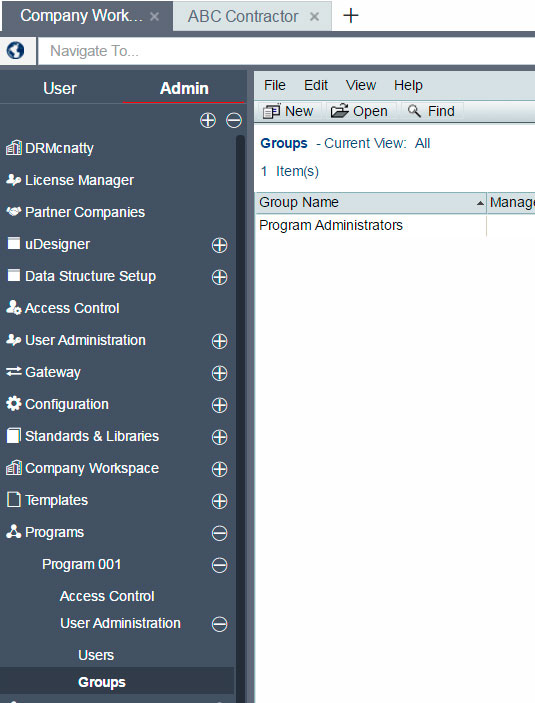
A Program Administrators group is automatically created with the program’s Administrator already a member. This group includes the administrative permissions.
We will add a non-administrative group for user mode access. Click ‘New’.
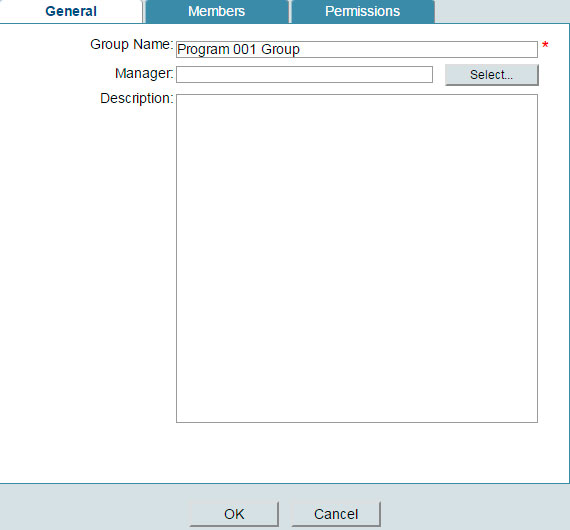
From the General tab, enter an appropriate Group Name.
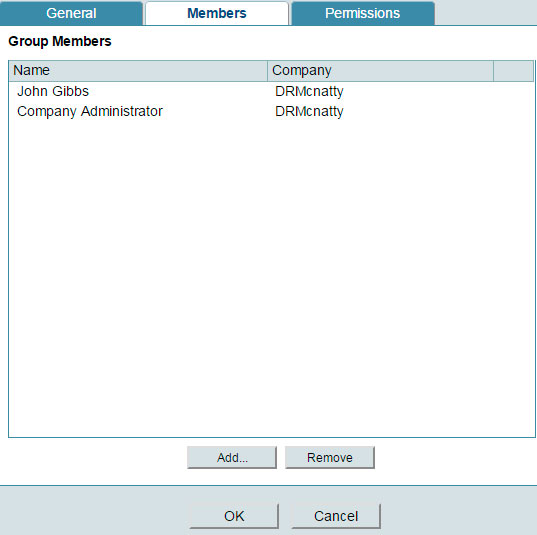
We will now add the users to this group. From the Members tab click ‘Add’.
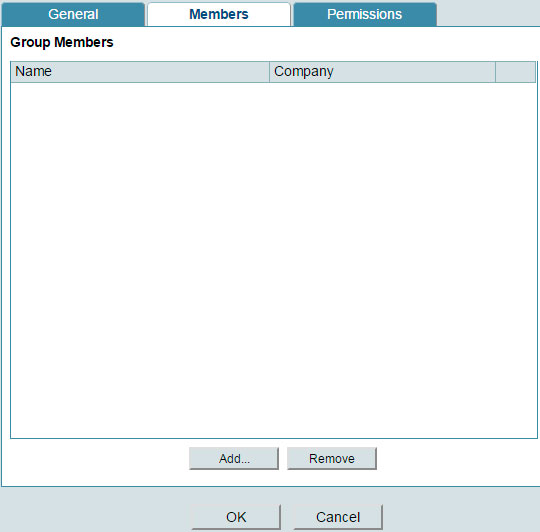
From the Users/Groups pop-up window, select the users, click ‘Add’ and then click ‘OK’.
The list of users selected now appears in the Members tab.
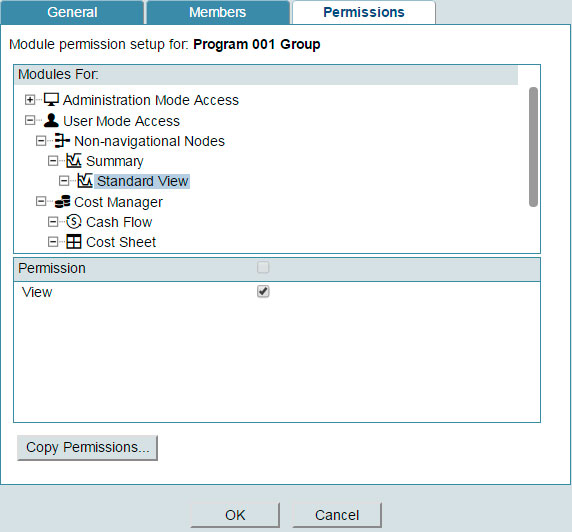
Permissions for the program as a best practice will be set within the group permissions. Since this will be for non-admin users, we ignore adding permissions from the Administration Mode Access node and set them within the User Mode Access.
In this example we shall set permissions for the Program’s Summary dashboard, Cost Sheet and User-Defined reports.
Set permissions for the Summary dashboard as shown below.
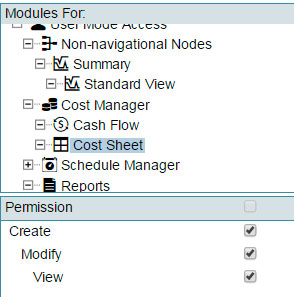
Next set permissions for the Program’s Cost Sheet as shown below. Select View only if the users should have read-only access.
Finally set the permissions for the User-Defined reports.
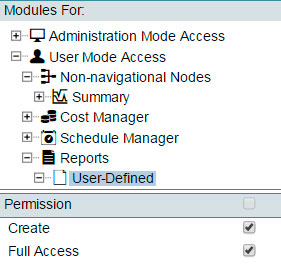
3. MAKE PROGRAM AVAILABLE IN USER MODE
If this is the first program created in Unifier it will not be available automatically. Just like Company Workspace, Home or Project/Shells, Programs will need its own User Mode Navigator.
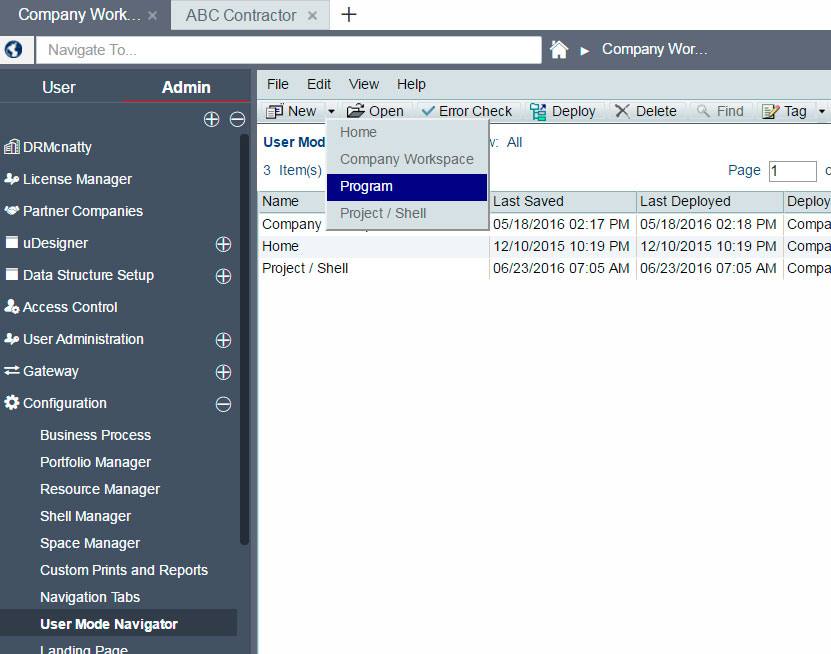
From Company Workspace > Admin Mode > Configuration > User Mode Navigator, click ‘New’ > ‘Program’ from the menu.
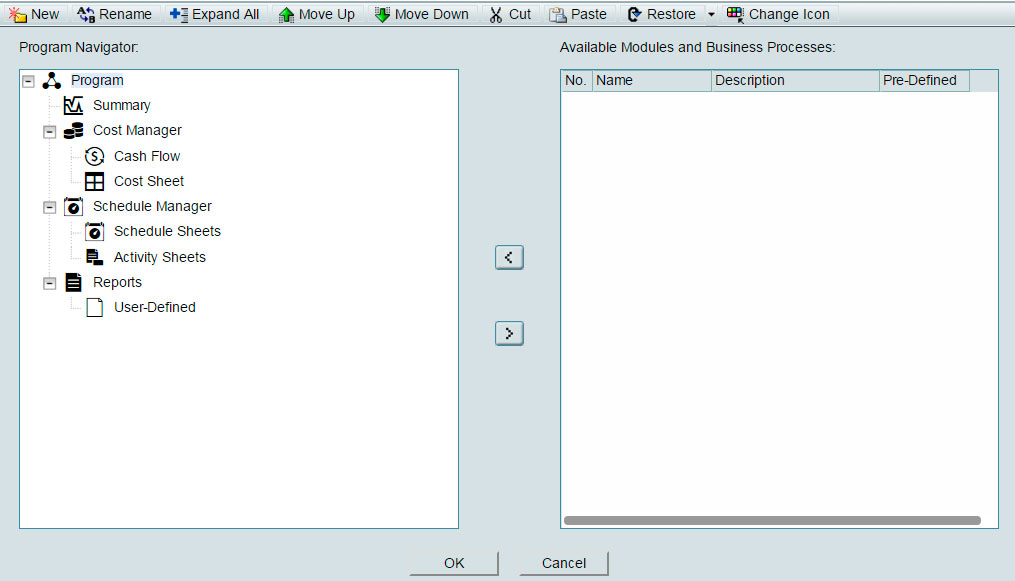
The following window will appear. All possible available modules to use within the program navigator have automatically been included. If required the main nodes Cost Manager, Schedule Manager and Reports can be renamed to something more appropriate.
Click ‘OK’ to return.
Click “Error Check’ to ensure no errors have been found in the navigator. Click ‘OK’.
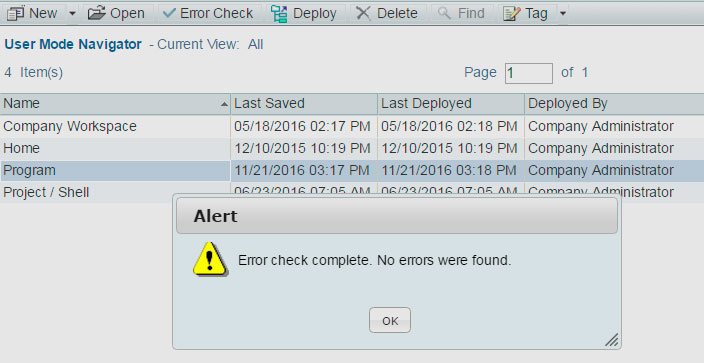
The final and key step to making this navigator available in User Mode is to deploy it. Click ‘Deploy’.
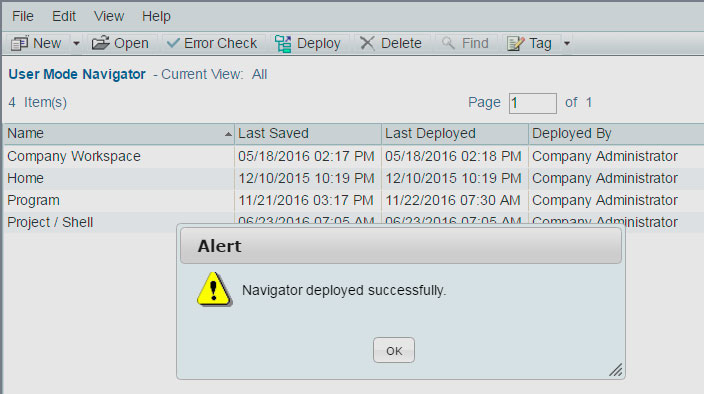
4. Accessing the Program
The program is accessed from the search bar. Start typing in the name of the program and it will appear in the Matched Locations bar. Select the program.
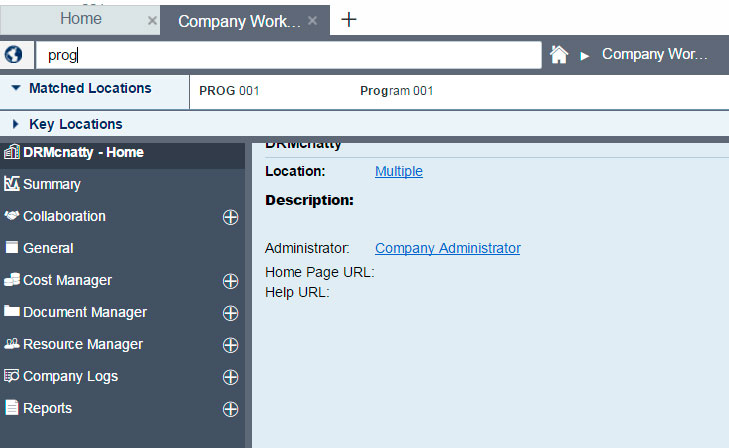
The program main window is displayed.
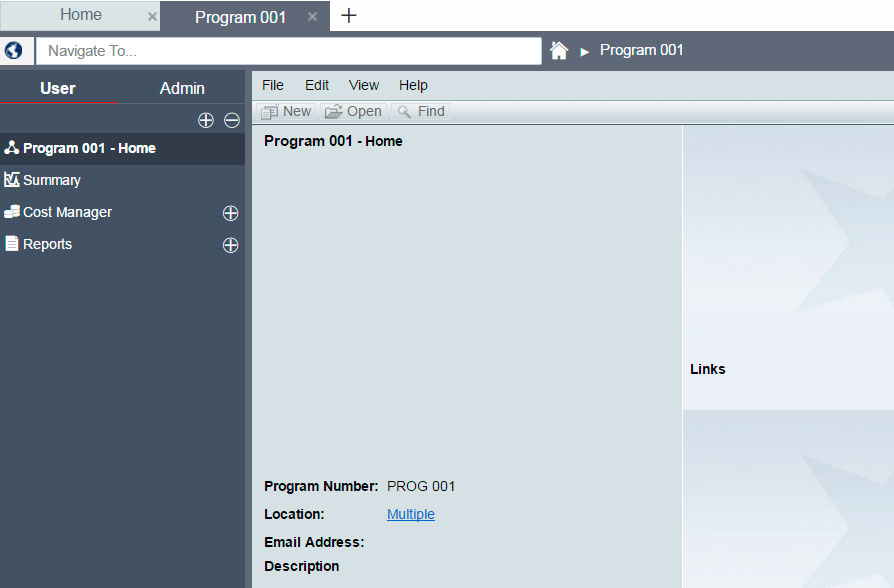
The user mode access we had set up was for Summary, Cost Manager and User-Defined Reports.
In User Mode selecting the Summary node displays the default standard view.
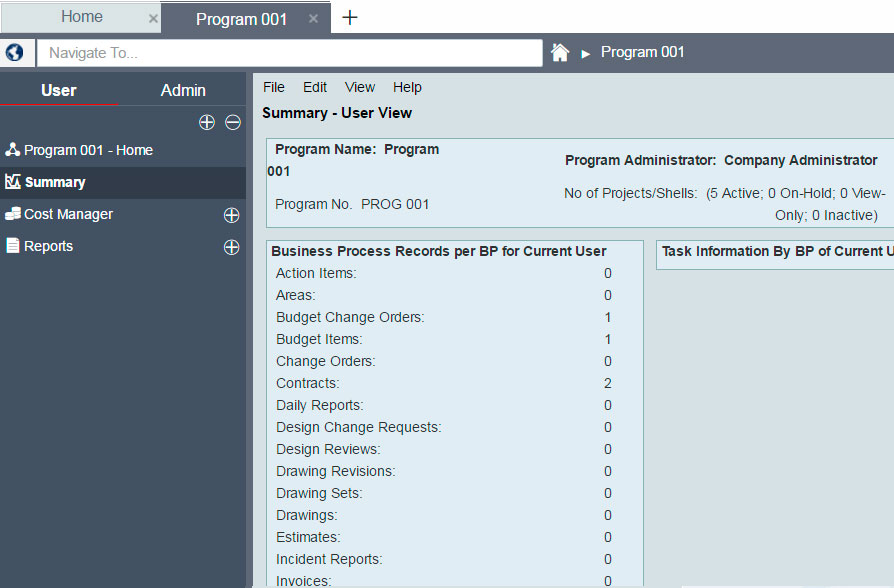
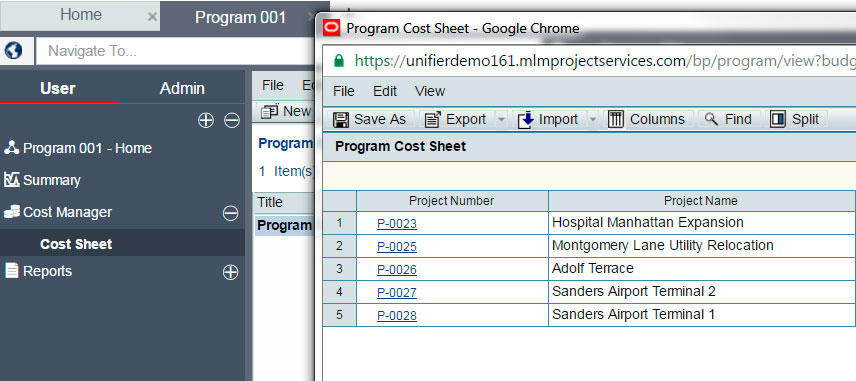
Selecting the Cost Manager > Cost Sheet node will show the Program’s Cost Sheet. This has automatically been created. Click ‘Open’.

The shells we selected during program creation are listed in the cost sheet.
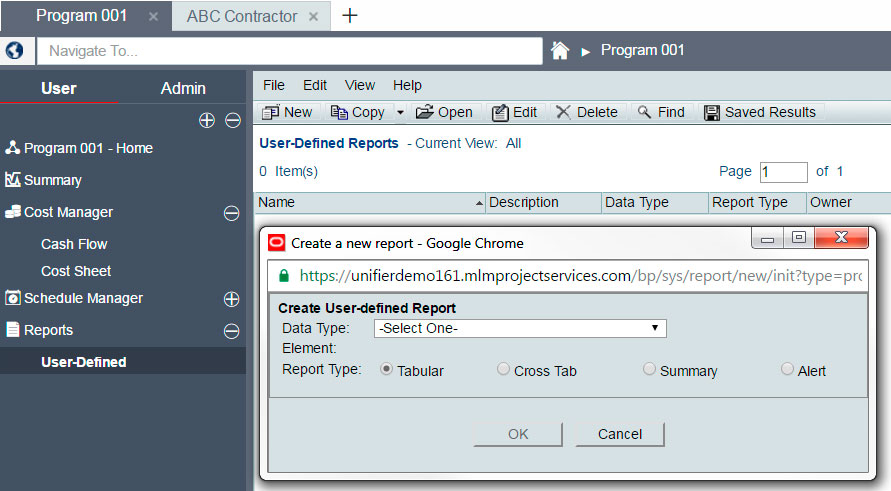
Selecting Reports > User-Defined displays the program reports log. Users can create their program UDRs here.
In summary, we have identified all the steps required to create and provide access to a program and its functionality which includes:
- Summary Dashboard page.
- Rolled up program cost sheet data and cash flow curves.
- Summarized schedule data.
- Program-level reporting.
