BI PUBLISHER & ORACLE PRIMAVERA P6
DOWNLOAD THE PDF HERE
When using P6, a common task is the sharing of schedules to others using XER or XML export files. If the export is taken from a P6 instance that uses Risks, then XER files will automatically export ALL “Risk Categories” and gives you no option to exclude them.
This creates two issues:
- The XER file becomes much larger than it should be
- The XER file will import all the Risk Categories into your database, polluting your database. These categories import even if the project exported has no risks, but the database it’s from does. And of course, then if you export one of your projects, it will also spread these Risk Categories to others.
If you are using the P6 Professional interface and don’t ever use Risks, this will have a low impact on your P6 usage. However, it can impact your performance in P6 EPPM, and certainly will impact you if you do use the Risks component.
Illustration of the issue
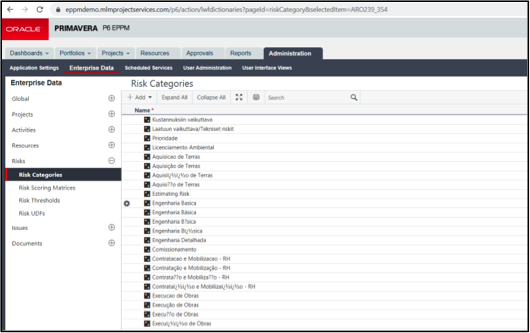
After importing a project XER from another user, the database is now populated with many spurious risk categories:

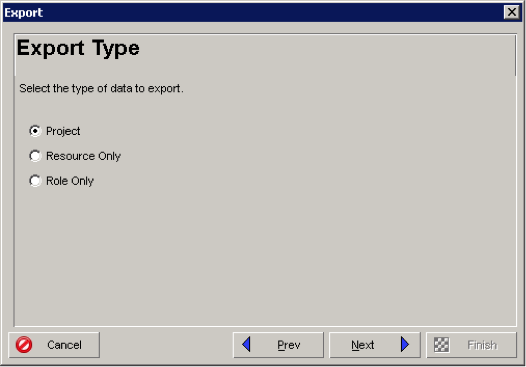
There is no option during XER export to EXCLUDE Risk Categories (even with XML export there is no option to exclude certain items):

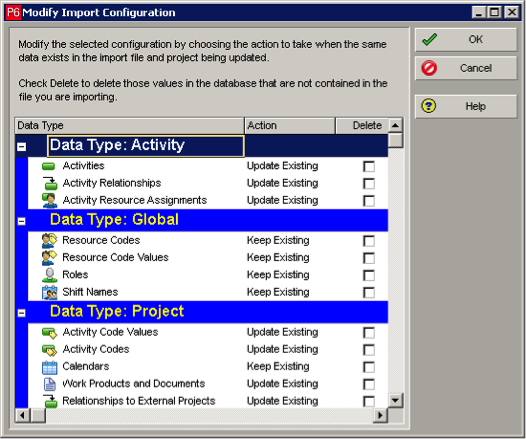
There is no option to EXCLUDE Risk Categories in P6 Professional:

HOW TO FIX THIS
There are a couple of different options you can use to fix this:
- Use a special P6 login account that has only “Project Superuser” but no Global Privileges when Importing projects. This also prevents any other Global data changes from happening (global calendars, resources, project/resource/global activity codes, etc). The problem with this is people never remember to use the special P6 login when they are importing. They usually import as an Admin Superuser.
- Hand-edit the XER file one of two ways.
XER Parser Tool
You can do this using an XER parser. The one that Oracle provides in their knowledgebase stopped working some versions ago. A consulting firm Aegis has updated it to work in newer versions. You can find it here:
https://www.consultaegis.com/technology/free-utilities/
It uses Macro-Enabled Excel to read an XER and takes each data type and puts them on separate Excel worktabs. You can then edit them (making sure not to break unique identifiers) and then re-export it XER. The advantage of this is being able to decide exactly what you want in the XER file.
Manual Hand Edit to XER using Notepad++
Or you can do this manually using Notepad++ to edit because it has a lot more options than regular Notepad.
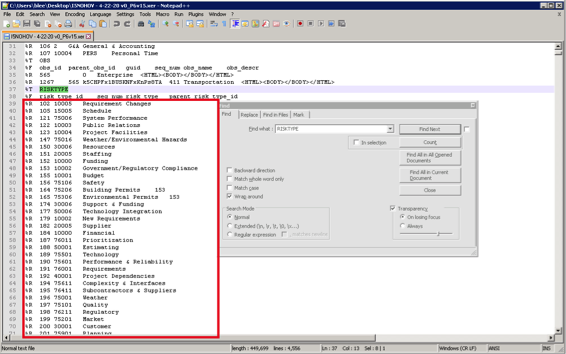
You would open the .XER and then search for RISKTYPE. You could then manually remove all the Risk Categories that get included in the file. This would be all the %R lines below the %T and %F lines (you can remove the %T and %F lines as well, but removing all the %R lines only until the next %T line also works.)

Another Alternative
The XML export format appears to exclude Risk Categories if none are assigned to the project. This is best done in the P6 EPPM (P6 Web) interface as the latest P6 Pro version redirects you to download the XML file from P6 Web anyways. Therefore, requesting the project backup file in XML format is a good alternative to using XER.
Summary
Transferring/Sharing schedules is a very powerful option in P6, but care must be taken when sharing these files based on this issue with Risk Categories and the XER transfer format. Using the techniques outlined here will help you in keeping your P6 database clean and free of extra unwanted entries.
