
CREATING AND PUBLISHING A CUSTOM REPORT
Oracle Primavera Unifier & BI Publisher
Download the PDF HERE
User-Defined Reports are a quick and straightforward method for querying Unifier BP data and outputting to various formats such as HTML, CSV, Excel or XML. However, Unifier custom reports are used when requiring more professional looking output. This Tech Tip outlines the steps to create and publish a simple Custom Report for use in Unifier.
Creating the Data Source
Firstly, the data view should be created for the custom report.
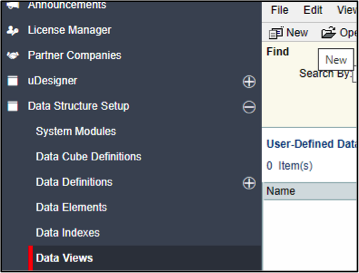
Go to Data Structure Setup > Data Views from the Navigation Pane and click New.
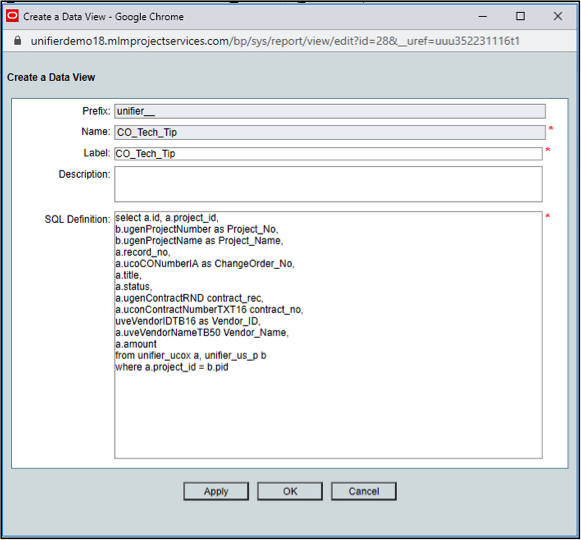
In the Create Data View window, the Name, Label and SQL Definition will be entered. In this example we enter a simple SQL statement that references key fields from the Change Orders BP. Ensure the SQL statement includes the project_id field as this example report will run at the project-level. Note the aliases used for each field to make it easier to identify the field. Then click OK.
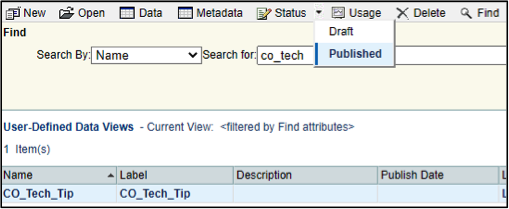
To publish the Data View so it is available for use in Unifier click Status and select Published from the menu.
Setting up a Custom Report
Now the Data View is available the Custom Report can be created.
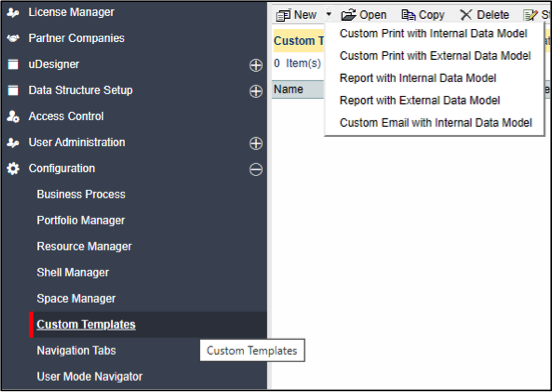
Go to Configuration > Custom Templates from the Navigation Pane and click New and select ‘Custom Report with Internal Data Model’ to open a new Custom Report window. Internal Data Model is selected in order to use the Data View created.
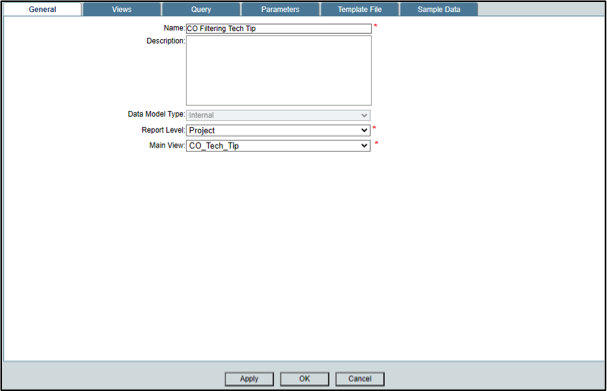
In the General tab, the report name is entered and since this report is to run within a project, Project is selected for the Report Level. In the Main View pulldown select the Data View created.
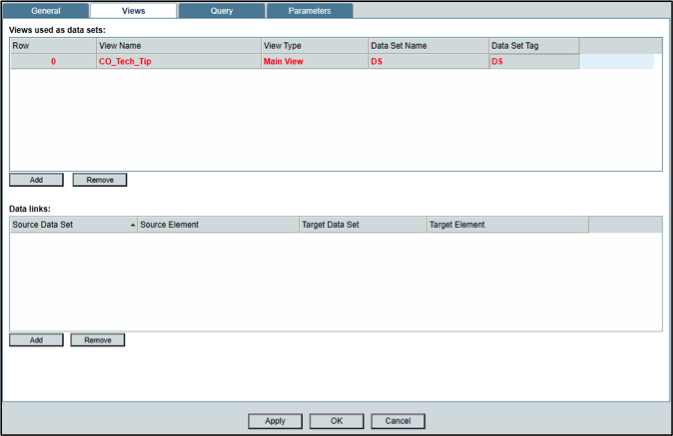
In the Views tab select the same Data View from the View Name pulldown. View Type will default to Main View and enter a Data Set Name. Data Set Tag will be the same name.
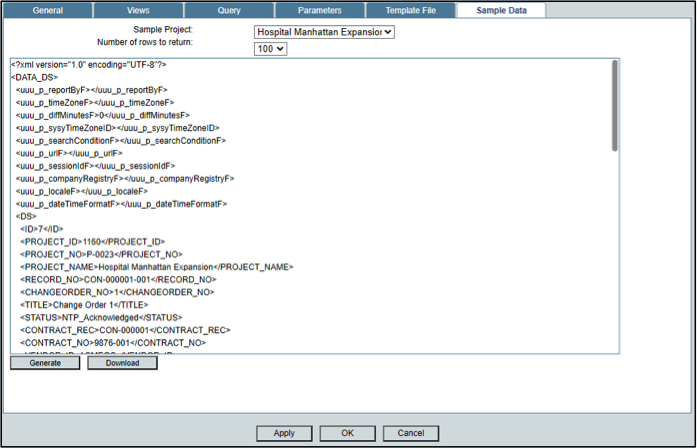
After clicking Apply the Template File and Sample Data tabs will appear. Sample XML data needs to be generated to assist the development of the RTF template file. Select a Sample Project, set the Number of Rows to Return to be the maximum (100) and click Generate.
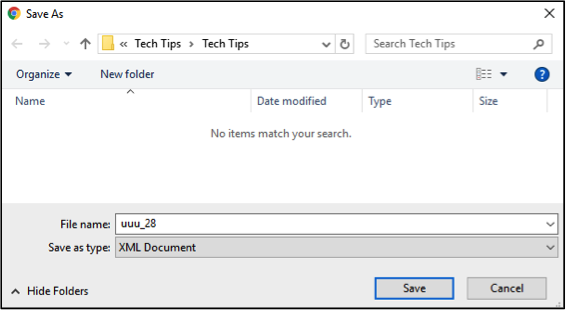
Once the data appears in the main pane click Download to save the sample XML data.
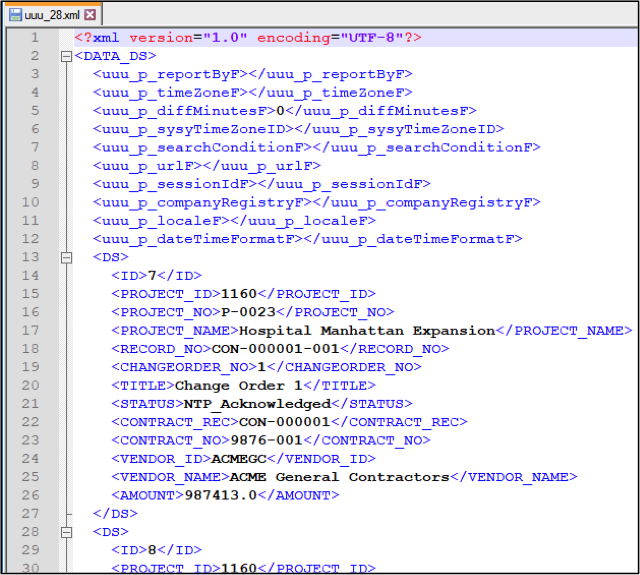
Open the XML file with an appropriate tool like Notepad++ to understand how the XML is structure for each record. In this example each record is denoted by the <DS> XML tags. The indented child tags are the Change Orders BP fields from the SQL statement in the Data View.
Creating the Report Design Template
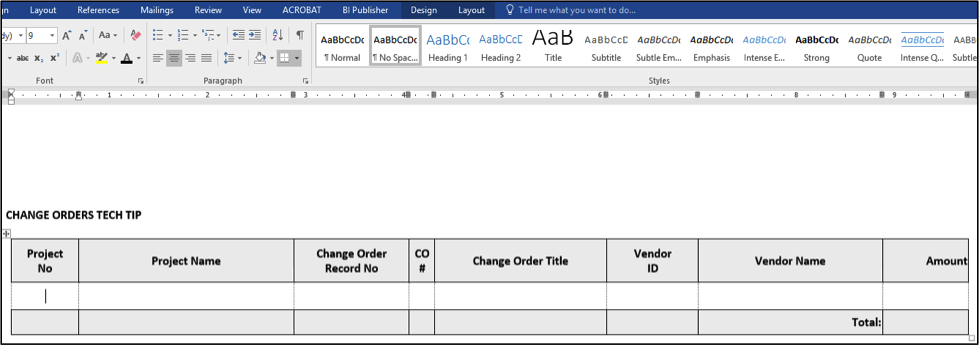
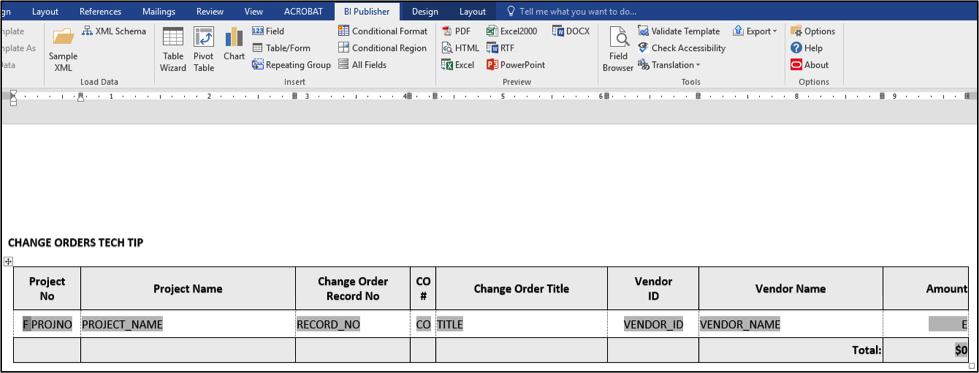
With BI Publisher MS Word Add-on already installed open a new Word document and layout the report design using a Table to create the appropriate columns and rows. This is just a simple layout but MS Word design features have the capabilities to create very professional looking reports
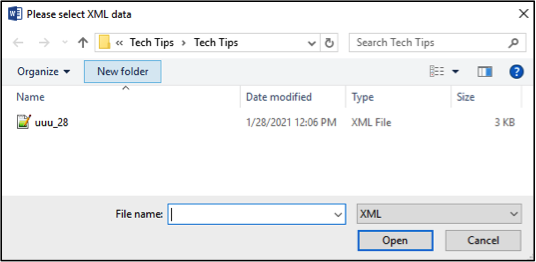
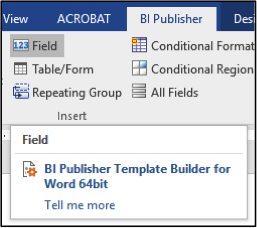
To populate the fields for the report click Sample XML from the BI Publisher ribbon.

Locate the saved sample XML file and click Open. The sample XML can now be used.
This is a simple example lists Change Orders BP records. Select any cell along the row where the data will be listed and click Repeating Heading Group from the BI Publisher ribbon.

In the Properties tab select DS (ie each record) from the For Each pulldown. There is no requirement to use the Group By since this is just a listing of records. Provide report ordering of the records by selecting Record No from the Sorting tab.


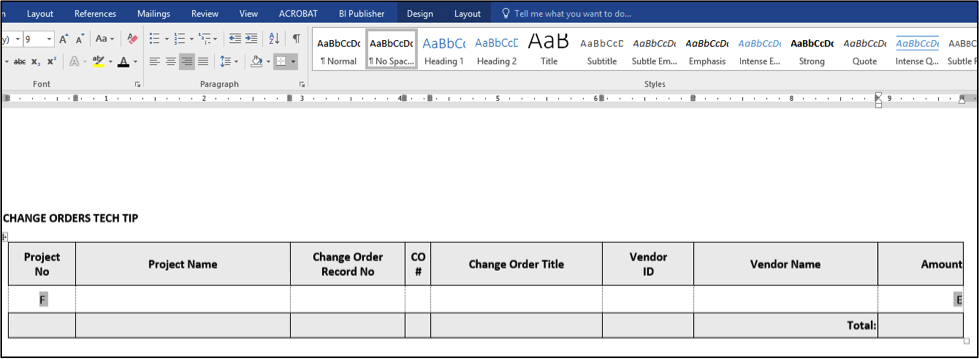
By default, two placeholders will appear. On the left will be a F (for-each XML tag) and to the right an E (end-for-each XML tag). Move the F to the 1st column and the E to the last column. This will create the ability to loop through each record for display.
To populate each column click Field from the BI Publisher ribbon. This displays the list of all available fields from the XML. Click on the appropriate cell (in the data row), find the field which will display there and click Insert.

Do this for every required cell. Note the F and E placeholders are the first and last in the data row.
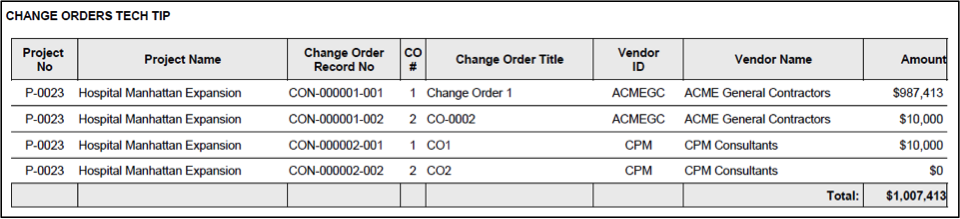
A preview of the results can be generated by clicking PDF from the BI Publisher ribbon.
This will automatically prompt to save as a RTF file.

The PDF preview is generated. This lists the Change Order records for the sample selected project.
Uploading the Template and publishing the Custom Report
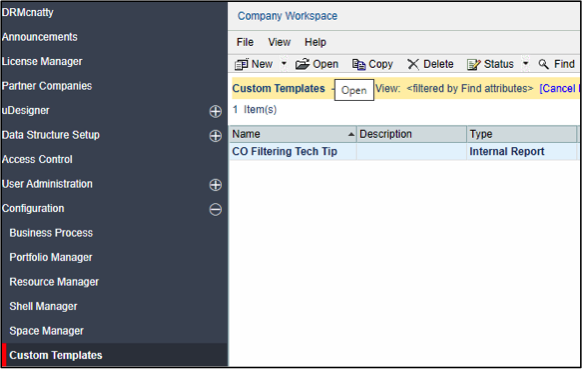
Locate the initially custom report in Data Structure Setup > Custom templates to add the RTF file and publish the custom report for use in Unifier. Click Open or double-click on the row.
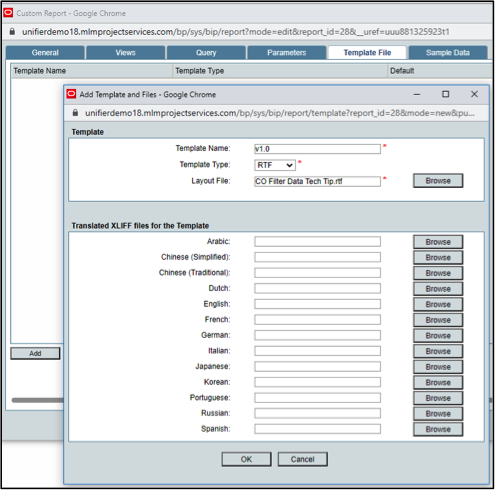
In the Template File tab add in a Template Name, select RTF as Template Type and select the RTF file. Click OK.
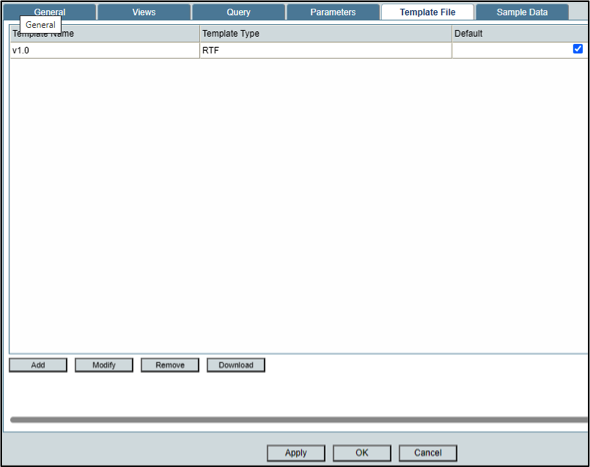
Click OK in the main custom report window. A custom report can have multiple templates. Since there is only one uploaded this automatically becomes the default.
The custom report is now ready to be published. Select the custom report and from the menu options select Published from the Status pulldown.
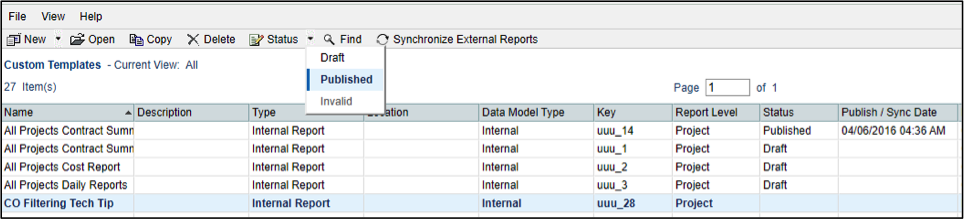
Custom report now shows the status Published and includes when it was published.

Making Custom Report available in Navigation Pane
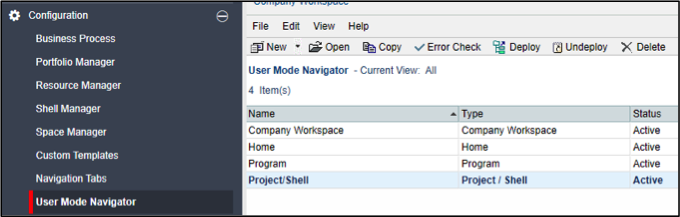
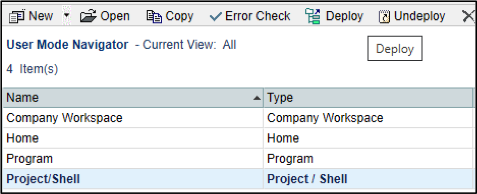
The custom report needs to be included in the Navigation Pane (User Mode Navigator) for it to be available for use. Locate the project/Shell navigator from Configuration > User Mode Navigator and either click Open from the menu or double-click the row to open the Navigator.
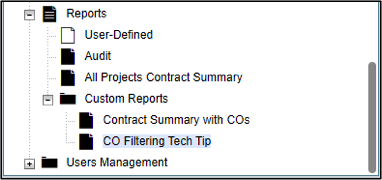
In the Navigator window left pane, identify where the custom report will be located. In this example the Custom Reports folder under the parent Reports folder. Find the published custom report on the right pane and click the Move Left icon between the two panes.

The custom report is now in the correct location. Click OK.
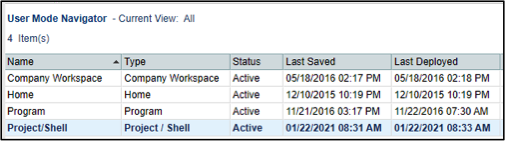
As with the custom report the User Mode Navigator must also be published. Select project/Shell Navigator and click Deploy from the menu options. When it was deployed will also be populated.
Setting Permissions for the Custom Report
The final steps are setting the permissions for the report. For better management, it is best practice to use an appropriate shell template and push the report permissions to the appropriate shells (projects). Use the same shell template used to create the shell the report will be available in.
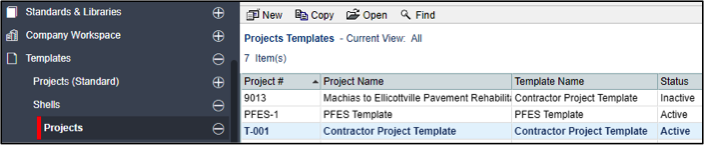
Go to Templates > Shells > Projects. In this example the Contractor Project Template is selected. Click Open from the Menu options or double-click the row.
The shell template is now open in the Navigation Pane. Select Access Control and locate the custom report in the main pane.

The Permission Settings window will open. Click Add button. This will open another window where the appropriate User(s) or Group(s) can be added. Check the View permission for the User/group selected. Click Ok on this window and the main window. The permission is now in place.

Pushing the permissions to a Shell
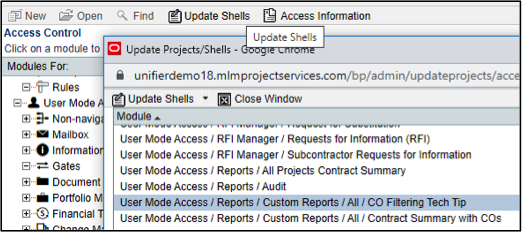
Click Update Shells from menu options of the Access Control window. This will open another window which holds permissions for all modules. Scroll down to find and select the custom report. It will be in the User Mode Access module.
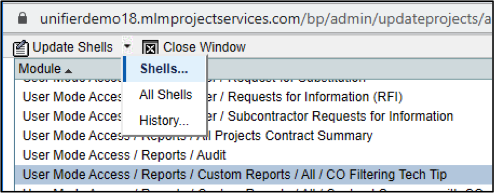
In the same window select Shells… from Update Shells menu option. This selective option is used as only one shell needs to be updated with this new report permission.
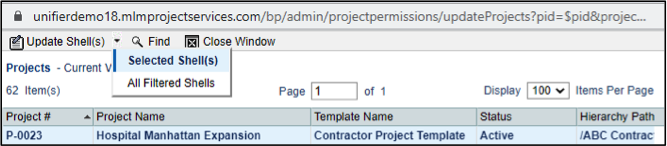
Another window opens allowing the user to select the specific shell(s). After selection choose Selected Shell(s) from the Updated Shell(s) menu option.
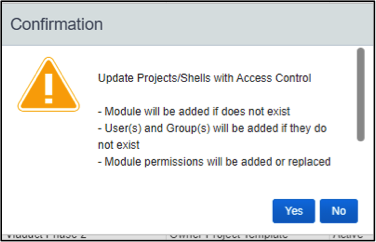
A Confirmation window opens. Click OK.
Running the Custom Report from a Shell
The custom report view permissions are now in place. Open the shell and locate the custom report. No change required for Template or Format selection. Click Run Report.

This is the PDF output.

In summary, this Tech Tip provided the steps to create and publish a simple custom report (with Internal Data Model) for use in a shell.